

I’m sitting here at Bounce - the steaming heat on a 30+ degree Melbourne day and the chaos of jumping kids is certainly testing my ability to “get in the zone” to write this blog. I thought it was an ingenious idea to bring the kids here…I naively thought they’ll be distracted and off technology and I’ll have two uninterrupted hours to focus. Hmmmm…life never really pans out that easily does it and I guess you could say renovating is the same!
Nevertheless, I’ve always been one for keeping it real and this blog will be a rough brain dump of all things learnt along our renovation journey so far…and excuse me if I get off track…my eyes are half focused on making sure Harv and his mate don’t break their arms in the X-park!
When I first sat back to think about what I could share with our beloved norsu community I asked myself the question “what would you find most helpful if you were to embark on your own house update or reno?”. Yes I can share some pretty pictures and don’t worry I’ll throw some into the mix, but I think the important stuff I can share is my experience and the lessons I’ve learnt. If one person reading this blog learns something that makes their experience a smoother and most importantly, a more informed one, then I’ll be one very happy lady!
So here goes…As the frame (the wooden beams for walls, ceiling and roof) are almost complete I’ve been busy working in background with Loz on finalising the fittings and fixtures (the cabinetry, the tiles, bench tops and lighting etc!). I’m not going to lie, this is certainly the fun part and one that gets my adrenalin pumping to new levels of excitement. However, even for this seasoned renovation junkie, it’s a time that can feel overwhelming. I certainly have an appreciation for the ‘decision fatigue’ our norsu Design clients feel with the abundance of choice there is out there in the market.
So with this in mind, I’d like to share some tips and info I’ve learnt that might help you reduce the overwhelm and will help you find the magical right balance between looking good and being practical, and (somewhat) financially viable.


Tiles
When shopping for your tiles (always Perini Tiles in my case!), please please please consider your labour costs. It’s easy to step into a tile shop and solely focus on the square meterage price of the actual tile. What people don’t know is that your labour costs fluctuate depending on what size tile you select. For example, you might find affordable kit kat tiles but you’ll pay almost double for your tiler to lay them, when compared to a larger standard sized tile such as a 600x600mm. They come on sheets and they require greater precision to lay them straight. I’m not saying avoid the mosaic or smaller sheeted tiles altogether (trust me I’m not) but I’m passionate about you knowing what to expect…renovations get very stressful when you’re hit with unexpected building costs. I’ve got your back and won’t let this happen. Be clever and select these for feature areas….the areas most visible…the areas that will provide the “wow factor” we’re all longing for. Then team them with a larger tile on the other walls that will cost less in labour. Another tip and one that we love in the norsu Design team is wrapping the larger floor tiles half way up the wall and adding the mosaic above this. Another quick tip for reducing overall cost would be not tiling every wall. If it’s not considered a ‘wet area’ (shower, bath and vanity areas) then keep it as plaster. It’s also a great opportunity to add a piece of art!


Bench tops
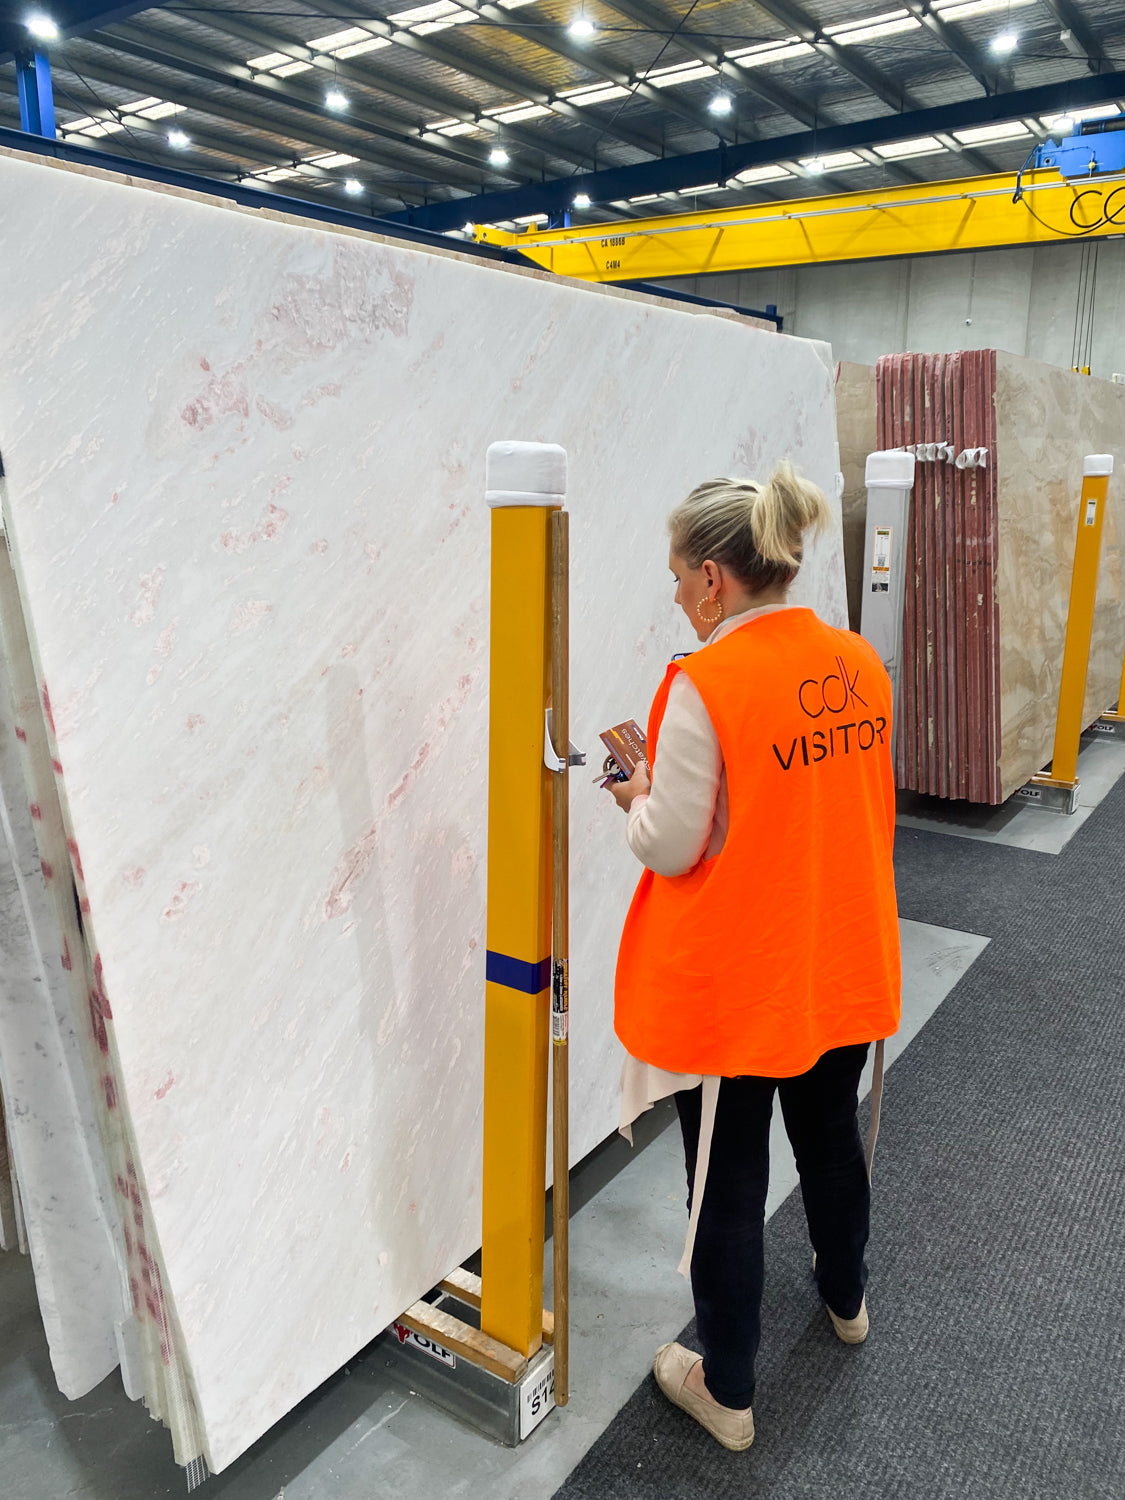
EXACTLY like tiles, your stonemason costs (the task of cutting, honing and installing the stone) add up at a lighting pace. In the past, I’ve had a false sense of security when the costs of stone have hit my inbox. It’s only when I’ve received the bill for its installation that I’ve nearly died. Unexpected costs to consider are…changing the shape of your bench top to something other than a square or rectangle. We’re all obsessed with curves (and yes you’ll see these in my home) but be aware they cost more. The labour involved in perfecting the shape takes time and time costs money. The thicker the bench top the more it costs. It requires the stonemason to add a piece of stone to the front and getting an accurate mitred edge (a seamless diagonal edge between the top of the countertop and a second piece of stone) requires skill. If you’re choosing multiple colours (mental note to self, I better listen to this tip for my house) make sure you’re making the most of your stone slab. Firstly make sure your designer considers the size of slab (normally around 3 metres in length) when specifying spaces like your island bench (so you don’t have ugly joins) but also make sure you’re using every inch of the slab. Ie. In my case, I’ve selected an emerald green from CDK Stone but I wouldn’t just use this in our powder room as it would be a waste of money to buy an entire slab for such a small space. Instead, I’ve using it in Harv’s bathroom and I’m even using some tiny off cuts for the insets of our stairs (granted the labour costs will be high for this).


Cabinetry (or Joinery)
Oh my goodness this one is a minefield and there are so many differing opinions. Just like the tip not to share your potential baby names, perhaps keep your plans to yourself! OK slight exaggeration but here are some recent things I’ve learnt and take them with a grain of salt. I’m not pretending to be the expert, these are just based on my own learnings. What’s better…vinyl wrap, laminate, real timber, timber veneer, two pack…what even is two pack you might ask and if anyone can tell me whether it’s spelt 2pac or two pack I’d really appreciate it. Before I go into the pros and cons I can tell you from the outset that these days (we’re no longer in the eighties) they all look very similar!
Let’s start with two pack as traditionally this has been considered the most elusive option. It’s the process combining two different liquids, a special type of paint and a hardener, and then it’s sprayed onto the cabinetry. The benefits to this finish is it’s customisable as you can basically select any colour you like. For example, I have my heart set on a moody tone for our living room and one that doesn’t exist when looking at suppliers of vinyl wrap and laminate. It was once considered the most durable but I would caution that it can chip. If you’re anything like me and not completely delicate around your home, you might see some scratches and chips over time. And you can’t easily fix these, you will need to get them resprayed. Also, two pack is expensive as the process is more labour intensive so be warned!!!
Onto laminate we go, and please don’t confuse this with Laminex. Laminex is actually a company that manufacturers laminated cabinetry so they’re two different things. Laminate is made by covering MDF with compressed plasticised sheeting. A matching edge is then applied to join the sheets. Ie. the edge of a door or a shelf. Laminate is considered relatively affordable and with the latest and greatest technology it’s getting better and better, especially thanks to companies like Laminex who has invested time and energy into producing the best colours in different door profiles. Some caution to be very careful around heat but to be honest, this is hear-say for me. Does anyone have any experience here? On a more personal note, I don’t like the edging (often referred to as ABS edging) as I prefer the smoother ‘wrapped’ finish two pack and vinyl wrap provide.
Lastly, let’s talk about vinyl wrap which is the process of wrapping heated vinyl material around MDF. You might hear it referred to as thermolaminated. The biggest benefit is that it’s extremely durable and apparently (according to our builders) can even withstand my roughness. It’s also easy to clean and maintain and plus, thanks to companies like Polytec, there are an abundance of colours and profiles up for grabs. Be careful with this one around extreme heats though, I’ve had it peel back before when I didn't install it correctly.

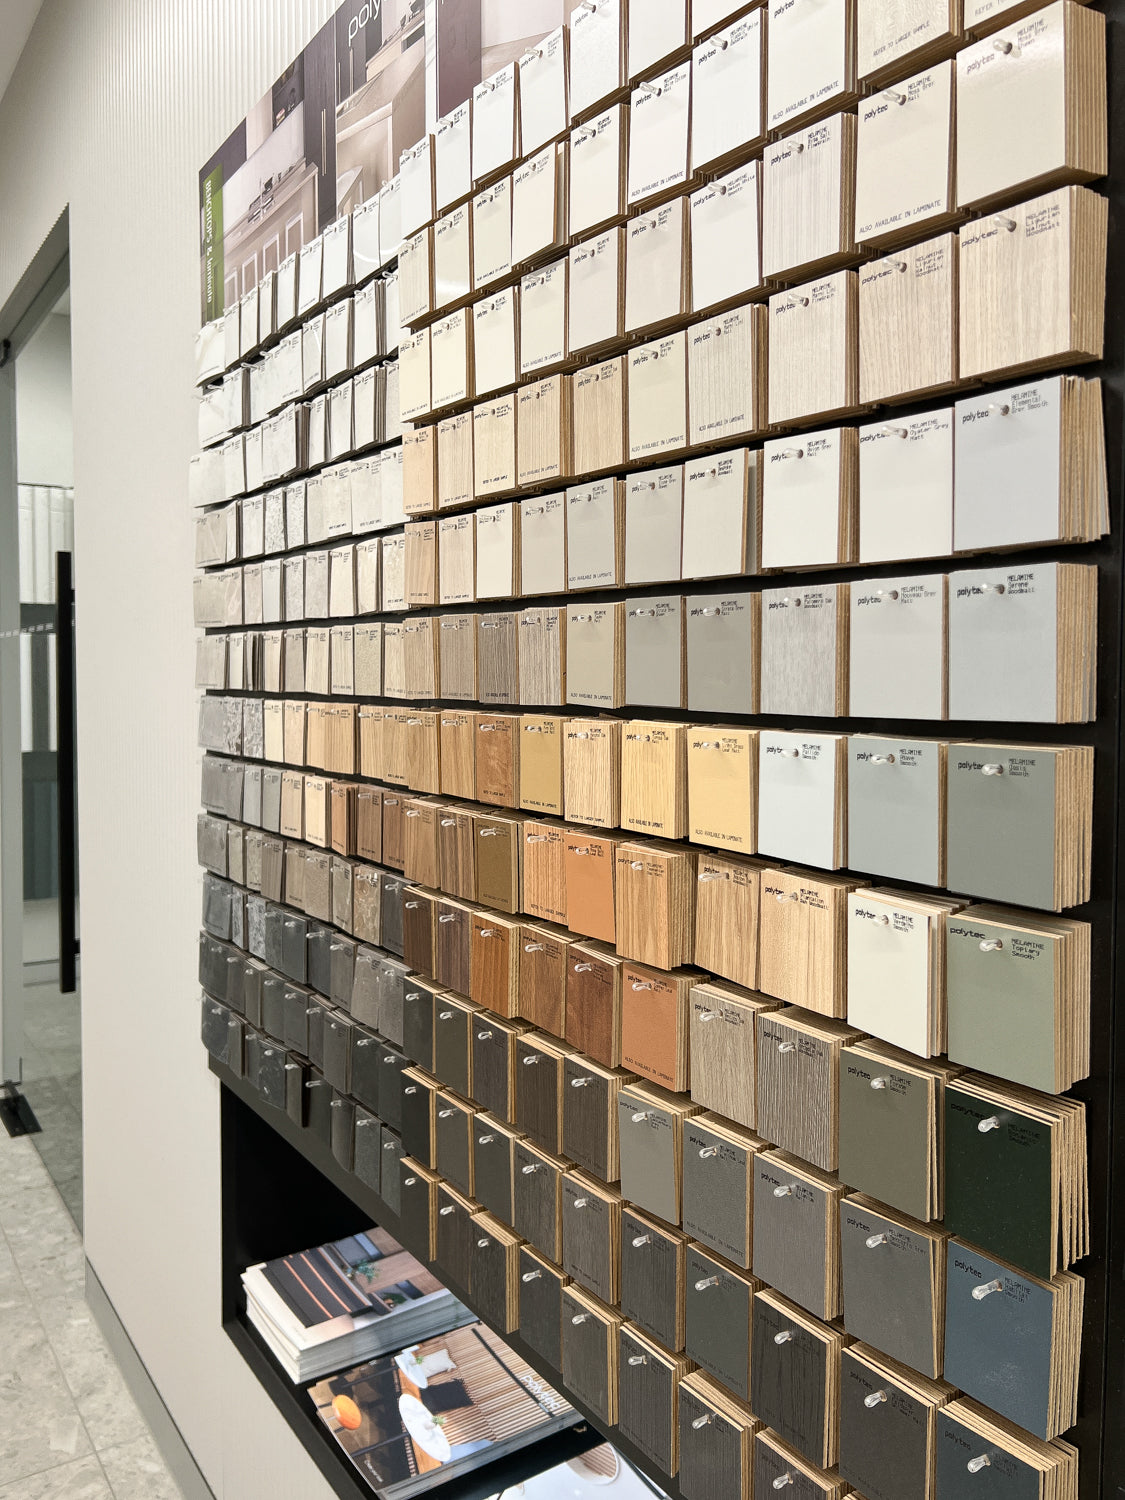
So are you wondering what I’ve selected?!?! Can I say it’s still a work in progress or is that a cop out? Three quarters of the home have been selected and I’ve gone with vinyl wrap. The remaining I had specified for two pack but even writing this blog I’m being swayed towards vinyl for it all. I’m not a millionaire and with Polytec’s colour range, it’s really hard to justify two pack…especially when I’m no ballerina! Grab your Dulux book and compare the colours with swatches from Polytec and Laminex and you’ll see they’re actually very close!
Before I go, it’s time to show you a sneak preview of my norsuHOME 2 selections. Granted, they’re not all cost effective selections, but the good news is that I’m going in with my eyes wide open. I know the associated expenses that come with them (thanks to norsu and our amazing builders). We will just have to work even harder to bring these ideas to reality. So that means it’s time to sign off and get back to work (and out of this hot box they call Bounce).


If you find these sorts of blogs useful, drop me an email at styling@norsu.com.au or pop a comment below. Or if there’s any other topic you’d like us or our norsu Design team to cover along the way, just say the word. And watch our Instagram closely this week as I'm planning an "insta live" where I share all the details of the finishes we've selected. :)
With so much love,
Nat

Brought to you by


